Step 1. Open a Terminal window
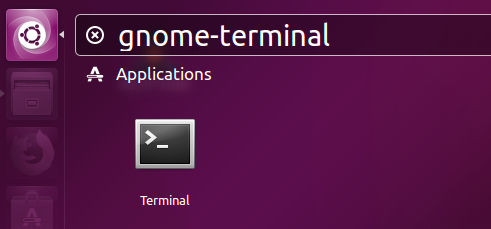
There are two ways to open a Terminal window on Linux.
- Press
Ctrl+Alt+Tto launch the Terminal. - Or press
Alt+F2and typegnome-terminalto search the Terminal app.
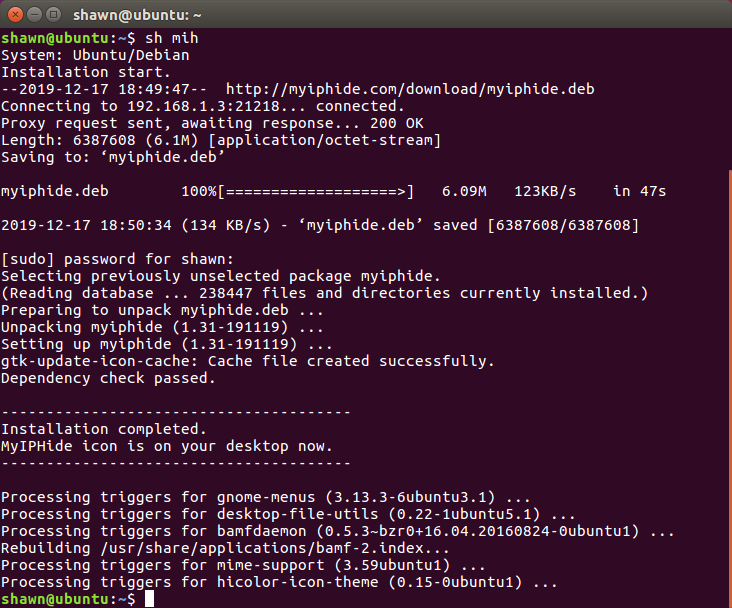
Step 2. Type these installation commands
wget http://myiphide.com/mih
sh mih
The first command line is to get the installation file “mih” from myiphide.com.
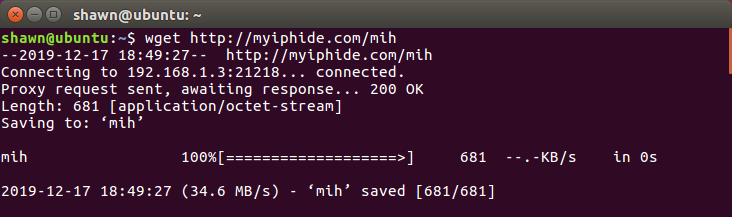
The second command line is to run the installation file “mih”. It will ask your Linux password for installation.
Step 3. Double click the MyIPHide icon
Now the MyIPHide is installed and its icon is on your desktop. Double it to run MyIPHide.
Step 4. Now you can use MyIPHide
Please follow this quick guide to learn how to use MyIPHide on your Linux system.
Firefox should work now. If Chrome doesn’t work, please use this command line to launch it.
google-chrome --proxy-server="127.0.0.1:21218"